Tutorial: Straightening Naturally Curly Hair Using Oribe & Macadamia Natural Oil Products
Today, I want to show you how to get a sleek, lasting, straightening out of naturally curly hair. The two most important concerns of working with curly hair on set is [1] Preventing heat damage to the fragile curls, and [2] keeping the hair from reverting. Let’s take a look at how I accomplish this!
I enlisted the help of my good friend, Hanan, as she has some of the most voluminous, unruly, curly hair that I know of! (Love ya girl, sorry!) Some of the challenges we face with her hair are [1] It is very hard to make her hair bone straight, and [2] her hair easily reverts after a few hours or contact with humidity/sweat/rain. These are common challenges with curly hair, but with the new technology in products, these are challenges that we are able to overcome!
As a curly-hair person, myself, I really want to take the time to make something clear to professional stylists. One thing that I see on set a lot is the lack of care and delicacy with our hair. Although our hair tends to feel tough and resilient, it is actually extremely delicate! Unlike straight hair, which is naturally strong and resilient to manipulation, curly hair is a series of kinks, that connect to form a curl. This makes our hair very vulnerable to breakage from manipulation. Every twist and turn of our hair is a potential breaking point, and needs to be treated as such. The use of combs and brushes should be banned from our hair, unless it is either soaking wet and full of a detangling agent (silicone, conditioner, oil, etc…) or straightened. No small tooth combs to detangle curly hair! EVER! Even when wet. Fingers or wide-tooth combs only! Another common offense is heat damage. Because curly hair is resistent to straightening, stylists tend to use gratuitous amounts of heat with reckless abandon, which leaves a lot of curly hair models with damaged hair. It is important to know how to adequately protect hair from heat damage! Every time I see a poor curly girl come on set, and the stylist reaches for an iron without protecting the hair, I feel like doing this…
Having said that, I will ask that, on behalf of the curly hair nation, you pass this article along to your social networks and group emails (and more importantly) to the stylists you know! Now, let’s get into it!
PRODUCTS USED:
[ ] Macadamia Natural Oil – Healing Oil Treatment
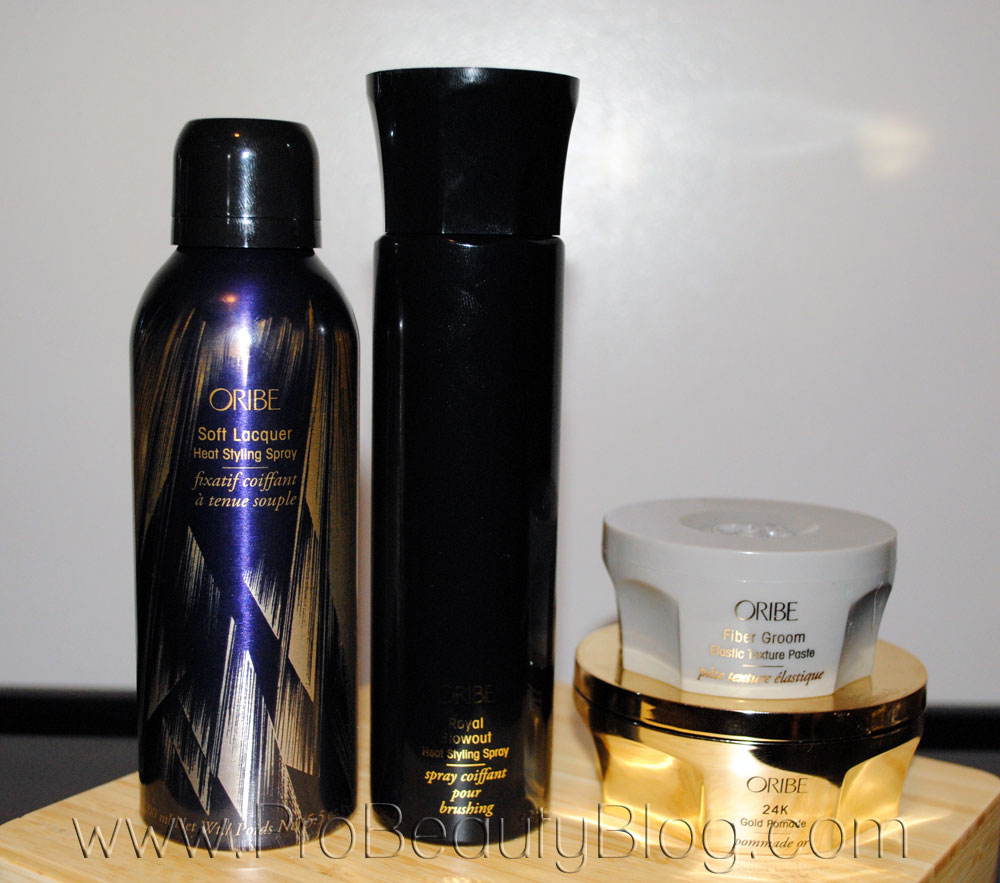
[ ] Oribe Royal Blowout Heat Styling Spray
[ ] Oribe Soft Lacquer Heat Styling Spray
[ ] Oribe Fiber Groom
[ ] Oribe Gold Pomade
TOOLS USED:
[ ] Spray Bottle of Water
[ ] Macadamia Natural Oil – Healing Oil Infused Comb
[ ] Flexi-Rods
[ ] Blow dryer with Comb Attachment
[ ] Flat Iron
THE PROCESS:
We started with Hanan’s hair in its natural, curly state.
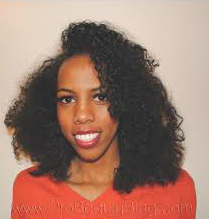
Hanan’s before picture.
I then saturated her hair with water, until it was soaking, dripping wet (basically, the whole bottle) and applied two pumps of the Macadamia Natural Oil Healing Oil Treatment, distributing it evenly, from root to tip, with my fingers. This is an important step! The reason I use this product is because of its high silicone content. Silicone is important here because it will coat the shaft, protecting it from heat, but also, will keep moisture out of the hair shaft, thus, preventing it from reverting to its curly state.
Macadamia Natural Oil Healing Oil Treatment.
Next, I sectioned the hair into four large sections, and secured them with foam flexi-rods. I use these for curly hair because they are soft and won’t tangle in the hair like clips or rubber bands. They also hold a ton of hair.
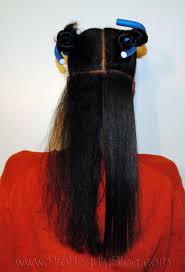
Flexi-rods.
After the hair was sectioned, I slowly, and gently detangled each section with a wide-toothed comb, then re-secured it.
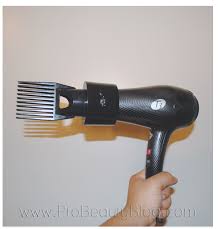
Once detangled, I sprayed the first section with the Oribe Royal Blowout Heat Styling Spray (3-4 sprays). I then used my blowdryer on high speed, but medium heat, and dried each section using the comb attachment. This helped keep the hair from tangling while drying it. It’s important to take time to dry the hair on medium heat, instead of using high heat.
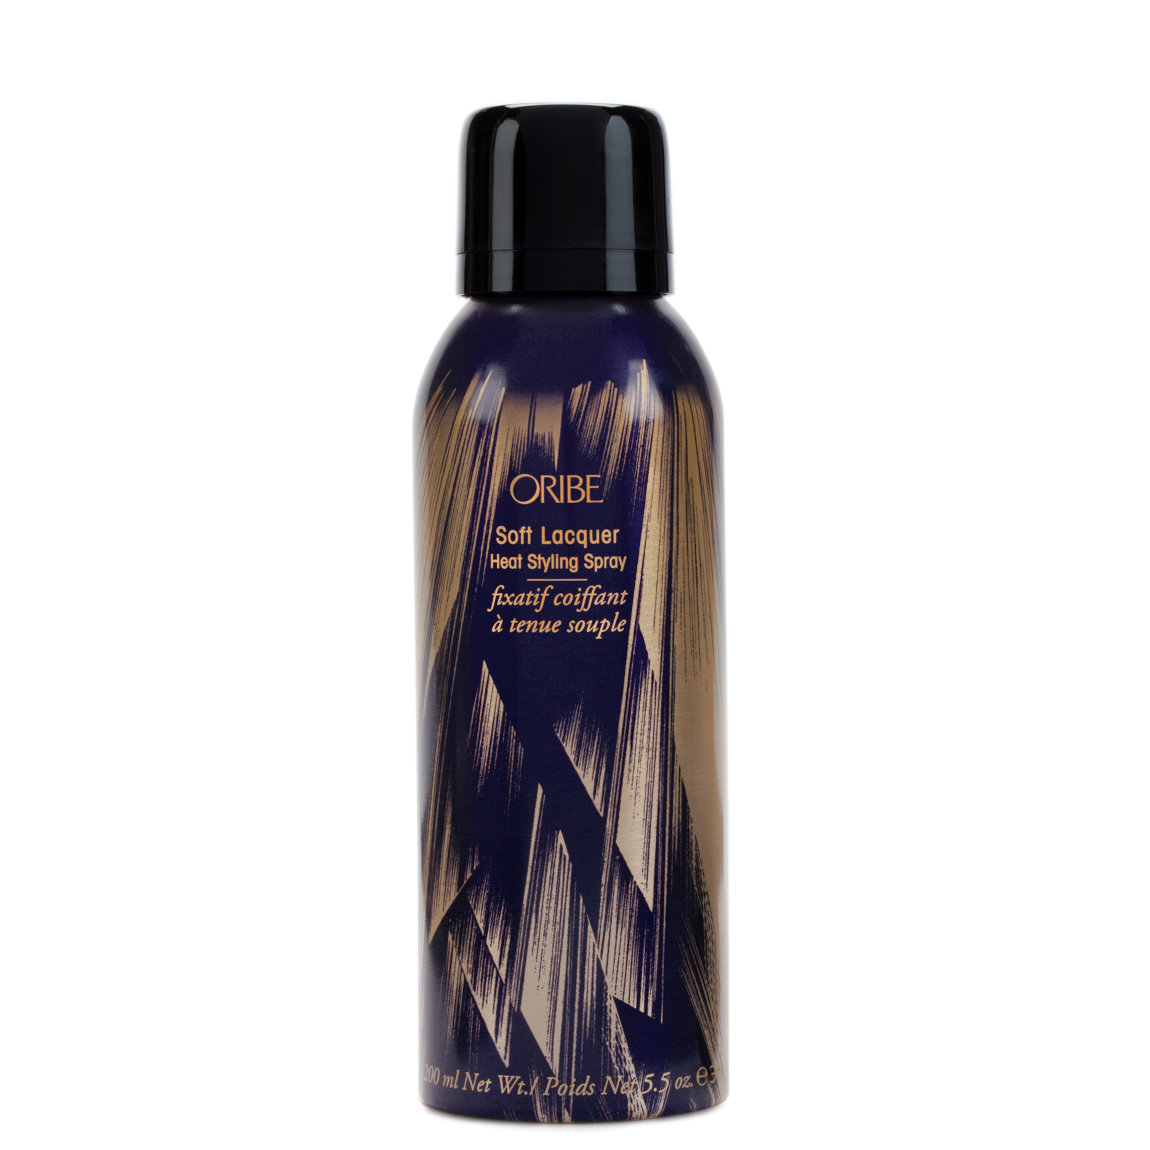
Oribe Royal Blowout Heat Styling Spray.
After the whole head was dried, I divided the hair back into sections. The next step was to straighten. I used the comb, and took a section of hair about 1/4 of an inch thick, and sprayed it with the Oribe Soft Lacquer Heat Styling Spray. I LOVE THIS STUFF!! Every time I use it, I feel like this…
The stuff is AMAZING! It coats the hair in a layer of shine that is unmatched. It also seals the cuticles and ends of hair, giving them an incredible sleekness that I’ve never seen any product do before. When you first flatiron over it, it makes the hair stiff. It almost feels like plastic. All you have to do is run the comb through it to release the hold. All that will remain is the shine. [NOTE: It will sizzle and smoke when you iron it. This is perfectly normal, and to be expected].
I flatironed the hair in small sections until I was done!

One section done.
I finished off the hair by taming fly-aways with the Oribe Fiber Groom, and running a thin layer of the Oribe Gold Pomade over the hair for added shine and glow!
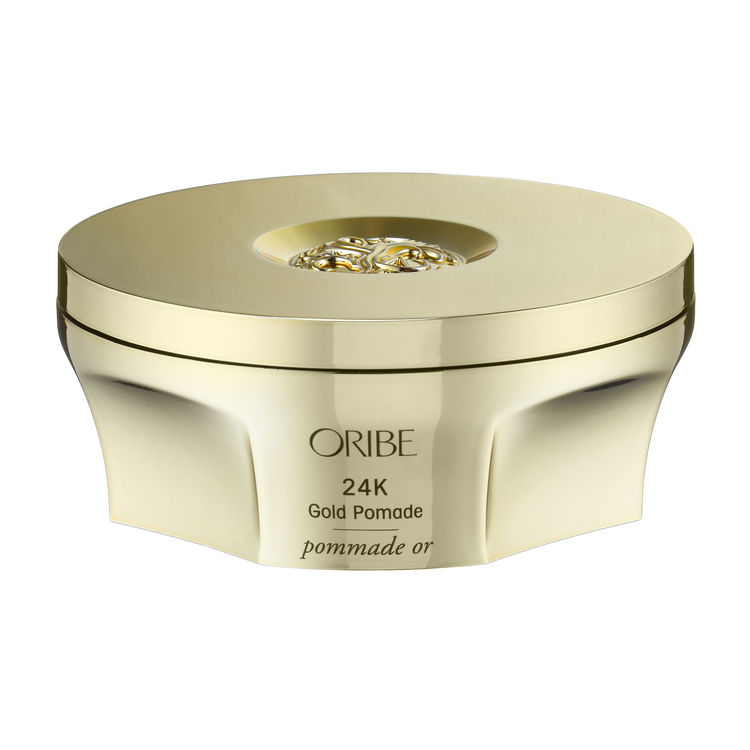
Oribe Fiber Groom and Gold Pomade.
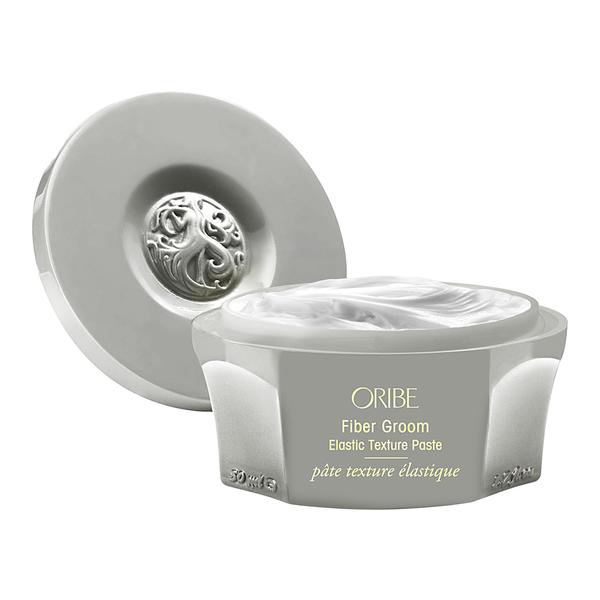
Oribe Fiber Groom.
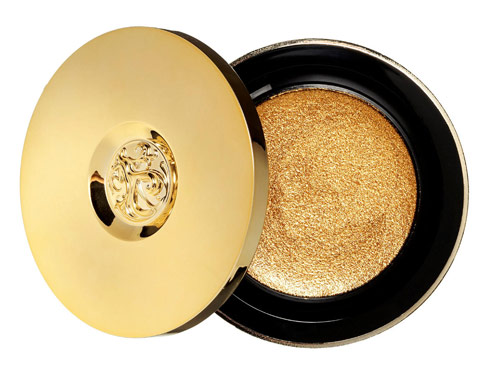
Oribe Gold Pomade.
And here are the results…
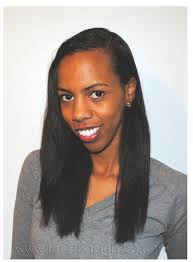
Finished results.
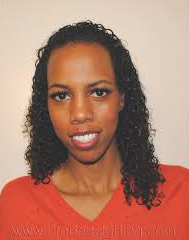
Hanan was ecstatic! She said that no salon has ever gotten her hair as flat as I was able to. She was also excited that I managed not to burn her hair, which always happen to her in the salon. Afterwards, you know she was walking around the house like…
Anyway, the process works! And it lasts… Here is Hanan’s hair two days later. It has survived sweating and showers just fine. The hair has not reverted (even on the edges), and she has not had to use heat, at all, for touch-ups!
If you would like to purchase Oribe products, click [HERE]. If you would like to purchase Macadamia Natural Oil products, click [HERE].

Comments are closed, but trackbacks and pingbacks are open.